Today Keys : azure ai, ai studio, studio, model, catalog
이번 포스팅은 현재 Preview로 오픈된 Azure AI Studio의 첫 번째 포스팅입니다.
첫 번째 포스팅에서는 Azure AI Studio 사용을 위해서 리소스를 생성하고, Azure AI Studio에 접속해서 제공되는 서비스를 간략하게 알아봅니다.

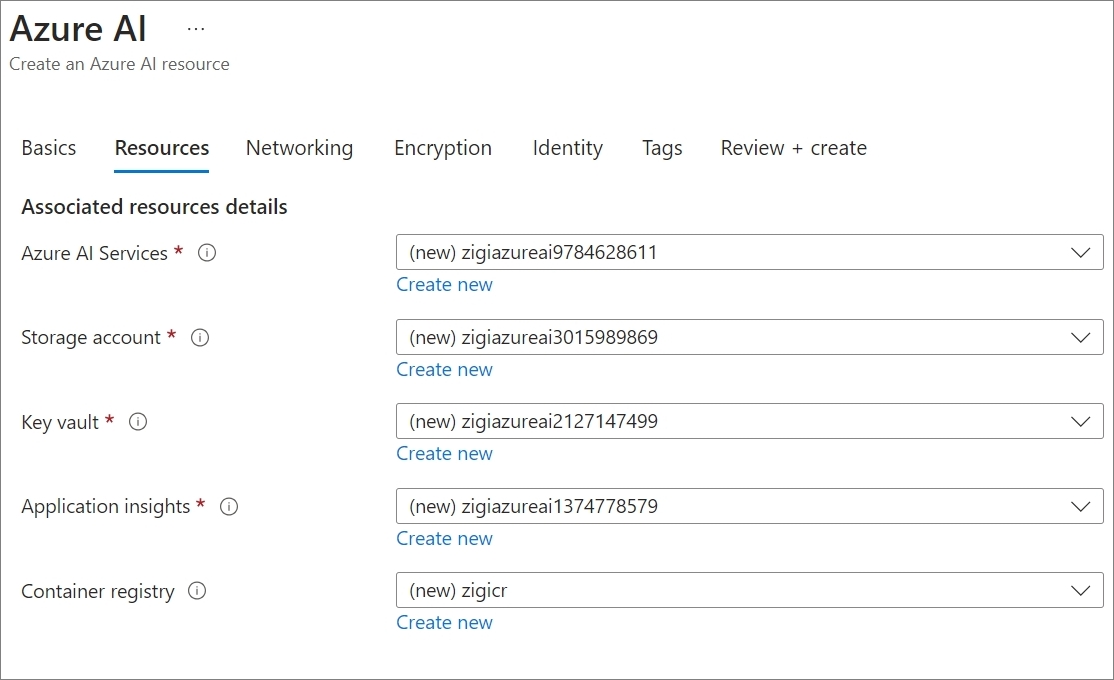
Azure AI Studio를 위해서 필요한 Azure AI 리소스를 연결하는 데,
기존에 생성된 AI 관련 리소스를 선택하거나 새롭게 만드시면 됩니다.
이번 포스팅에서는 모두 새롭게 만들어서 생성합니다.
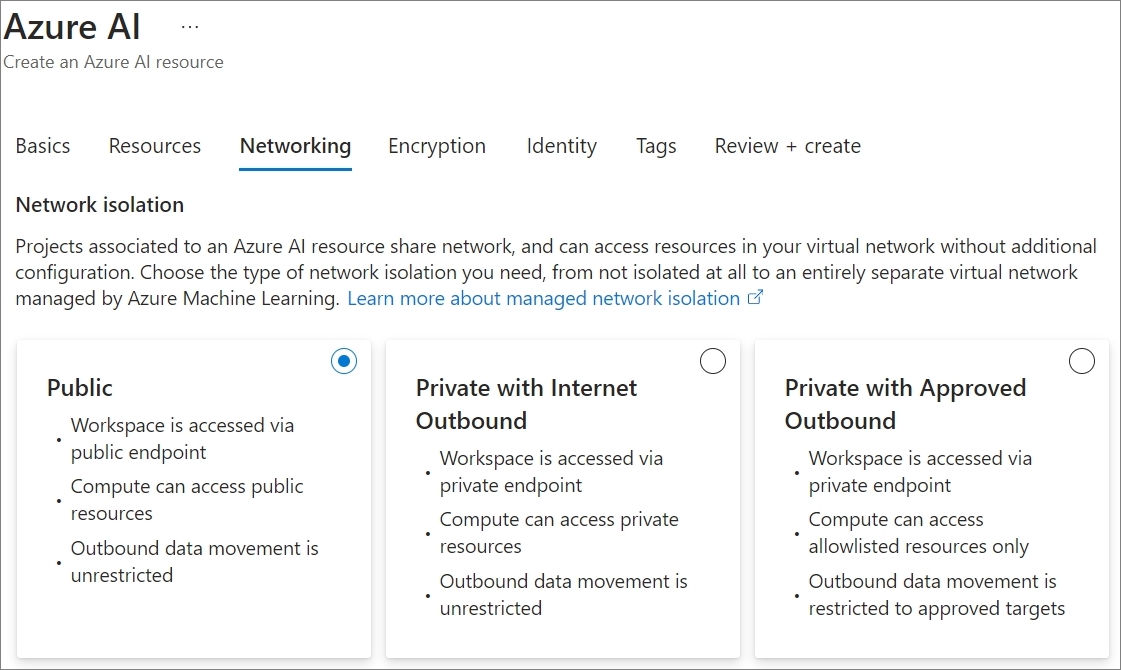
Azure AI 리소스에 대한 네트워크 접근 제어 설정입니다.
Public 및 Private with Internet outbound, Private with Approved Outbound 선택이 가능합니다.
당연히 뒤로 갈수록 보안적으로 유리하기 때문에, 상용에 사용하려면 가급적 보안에 유리한 구성을 하는 것이 좋습니다.
본 포스팅에서는 테스트 형태로 진행하는 것이어서, Public으로 선택했습니다.
다음은 Azure AI 리소스에서 사용하게 될 데이터의 Encryption 옵션입니다.
기본 값인 Microsoft-managed keys를 그대로 사용합니다.

설정한 값을 모두 확인한 후, Azure AI Studio 리소스를 생성합니다.

다양한 리소스가 생성되는 것을 확인 할 수 있습니다.

생성이 완료된 Azure AI 서비스를 아래와 같이 확인 할 수 있습니다.
바로 아래에 Azure AI Studio로 접속하기 위한 버튼을 눌러서 Azure AI Studio로 접속합니다.

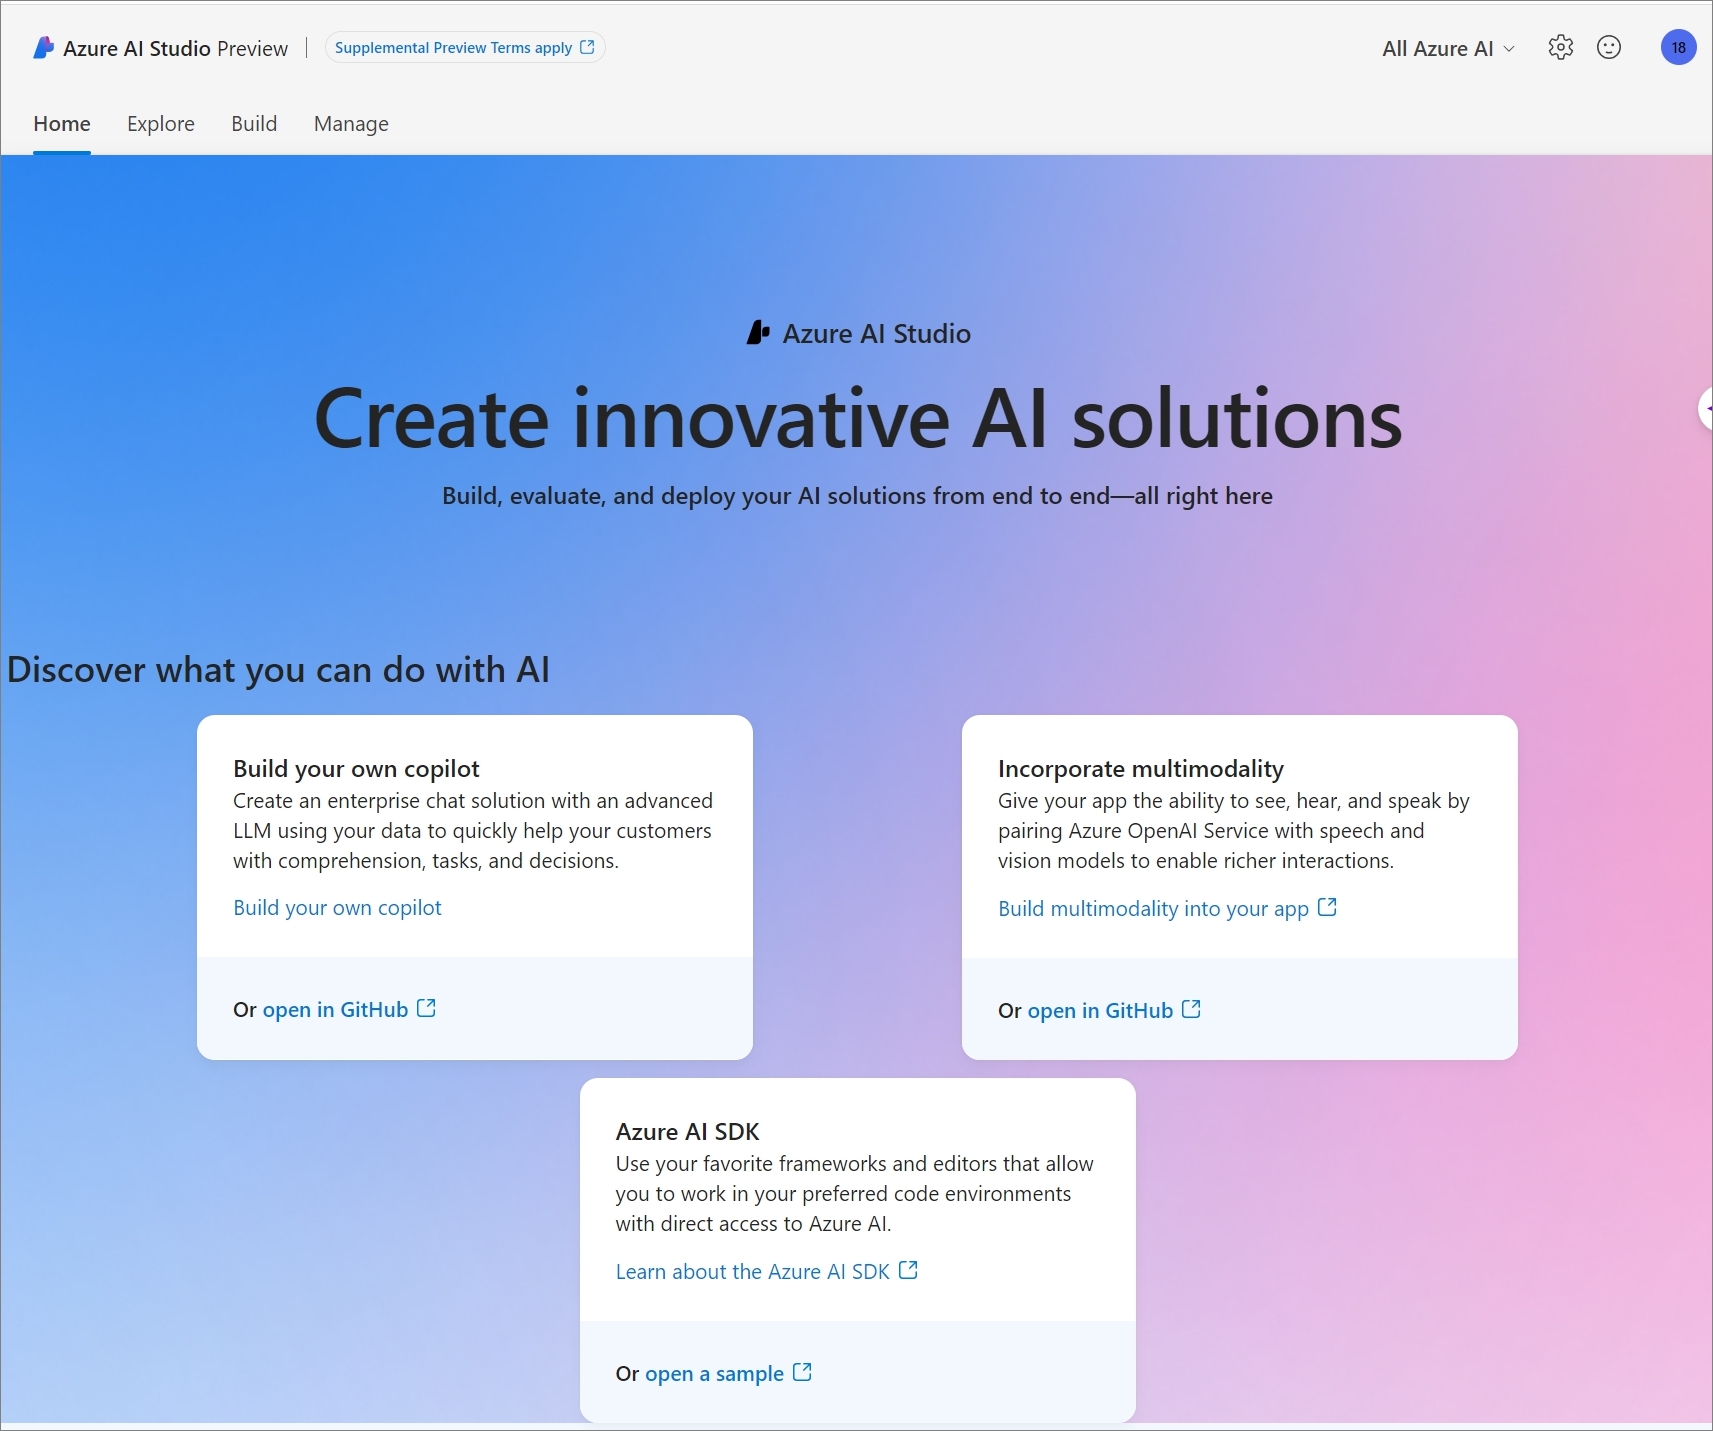
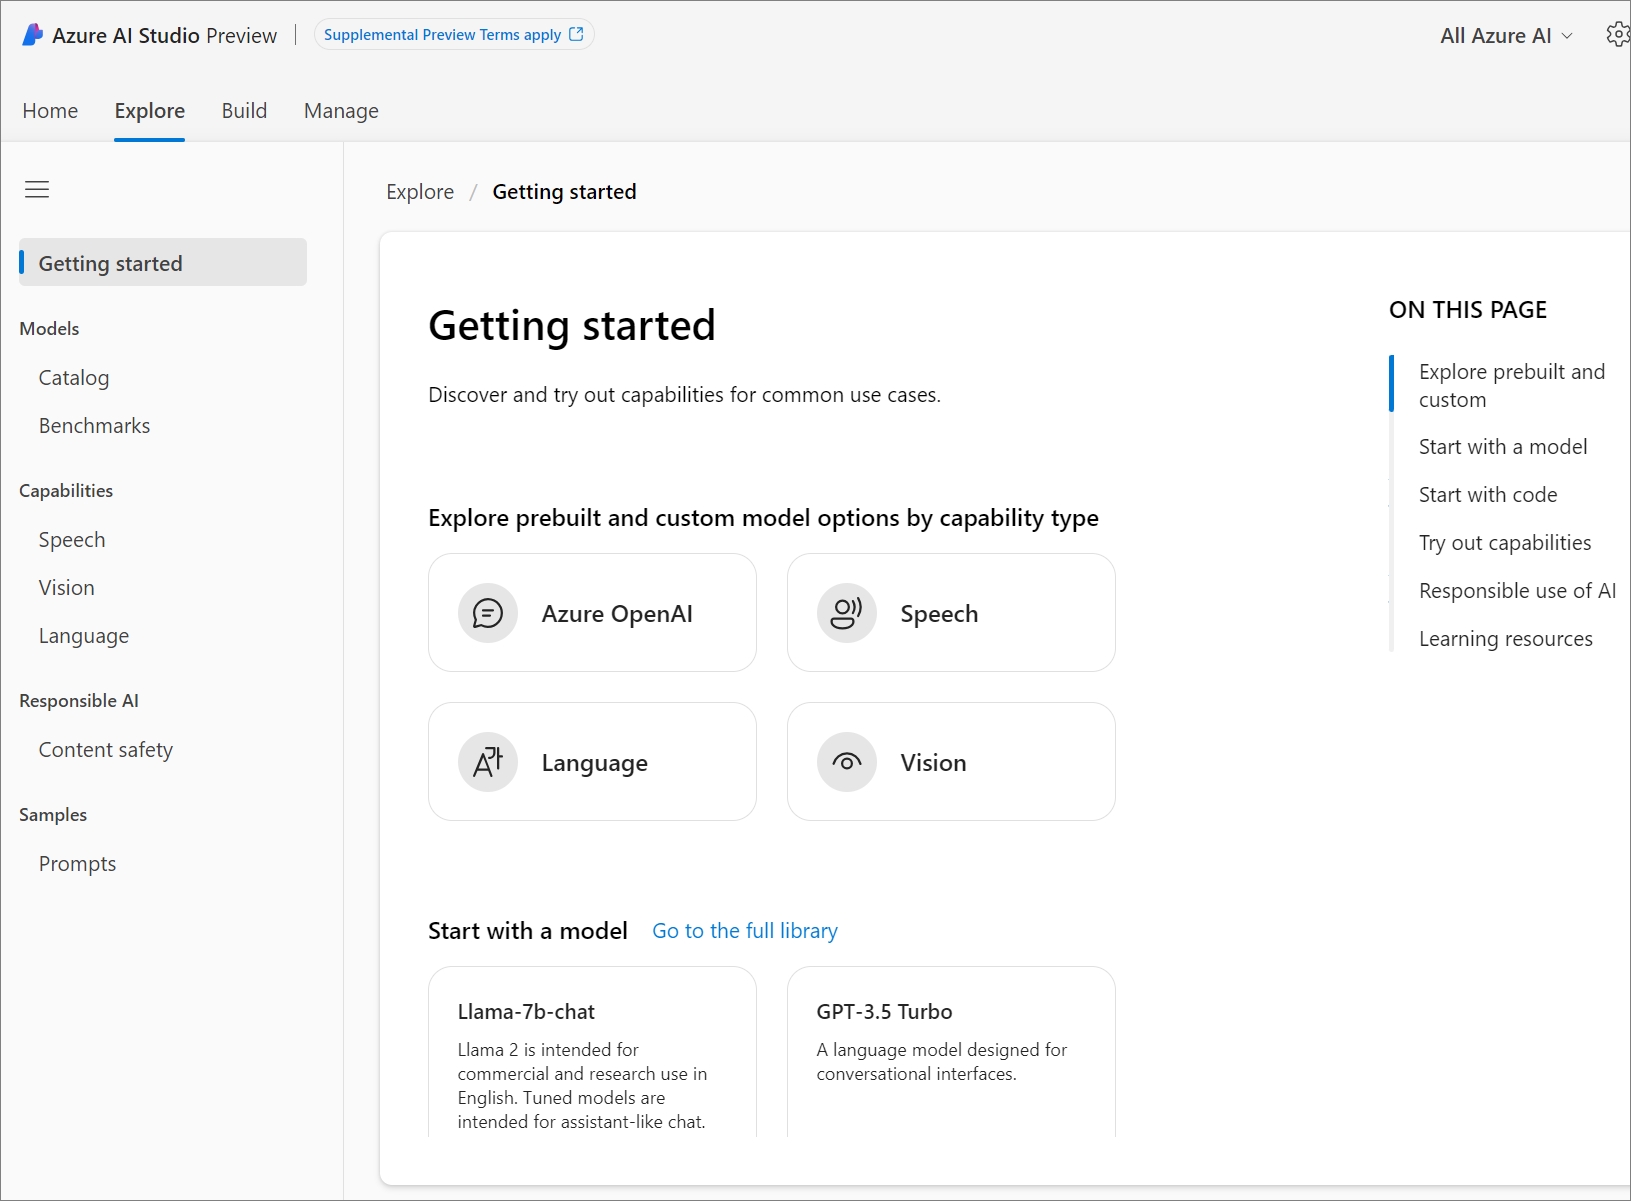
현재 Preview 상태인, Azure AI Studio를 아래와 같이 확인하실 수 있습니다.
Explorer로 가면, Azure AI Studio에서 제공되는 기능들에 확인 할 수 있는 데,
왼쪽에는 카테고리 별로 메뉴가 분류 된 것을 볼 수 있고, 우측에는 각 메뉴와 관련된 실질적인 페이지 내용의 가이드인 Getting started를 볼 수 있습니다.
먼저, Model catalog를 살펴보면
기존에 Azure OpenAI에서 제공되는 모델 이외에도 Meta, Hugging Face, NVIDIA 등에서 제공되는 굉장히 다양한 모델을 선택하여 사용 할 수 있는 것을 볼 수 있습니다.
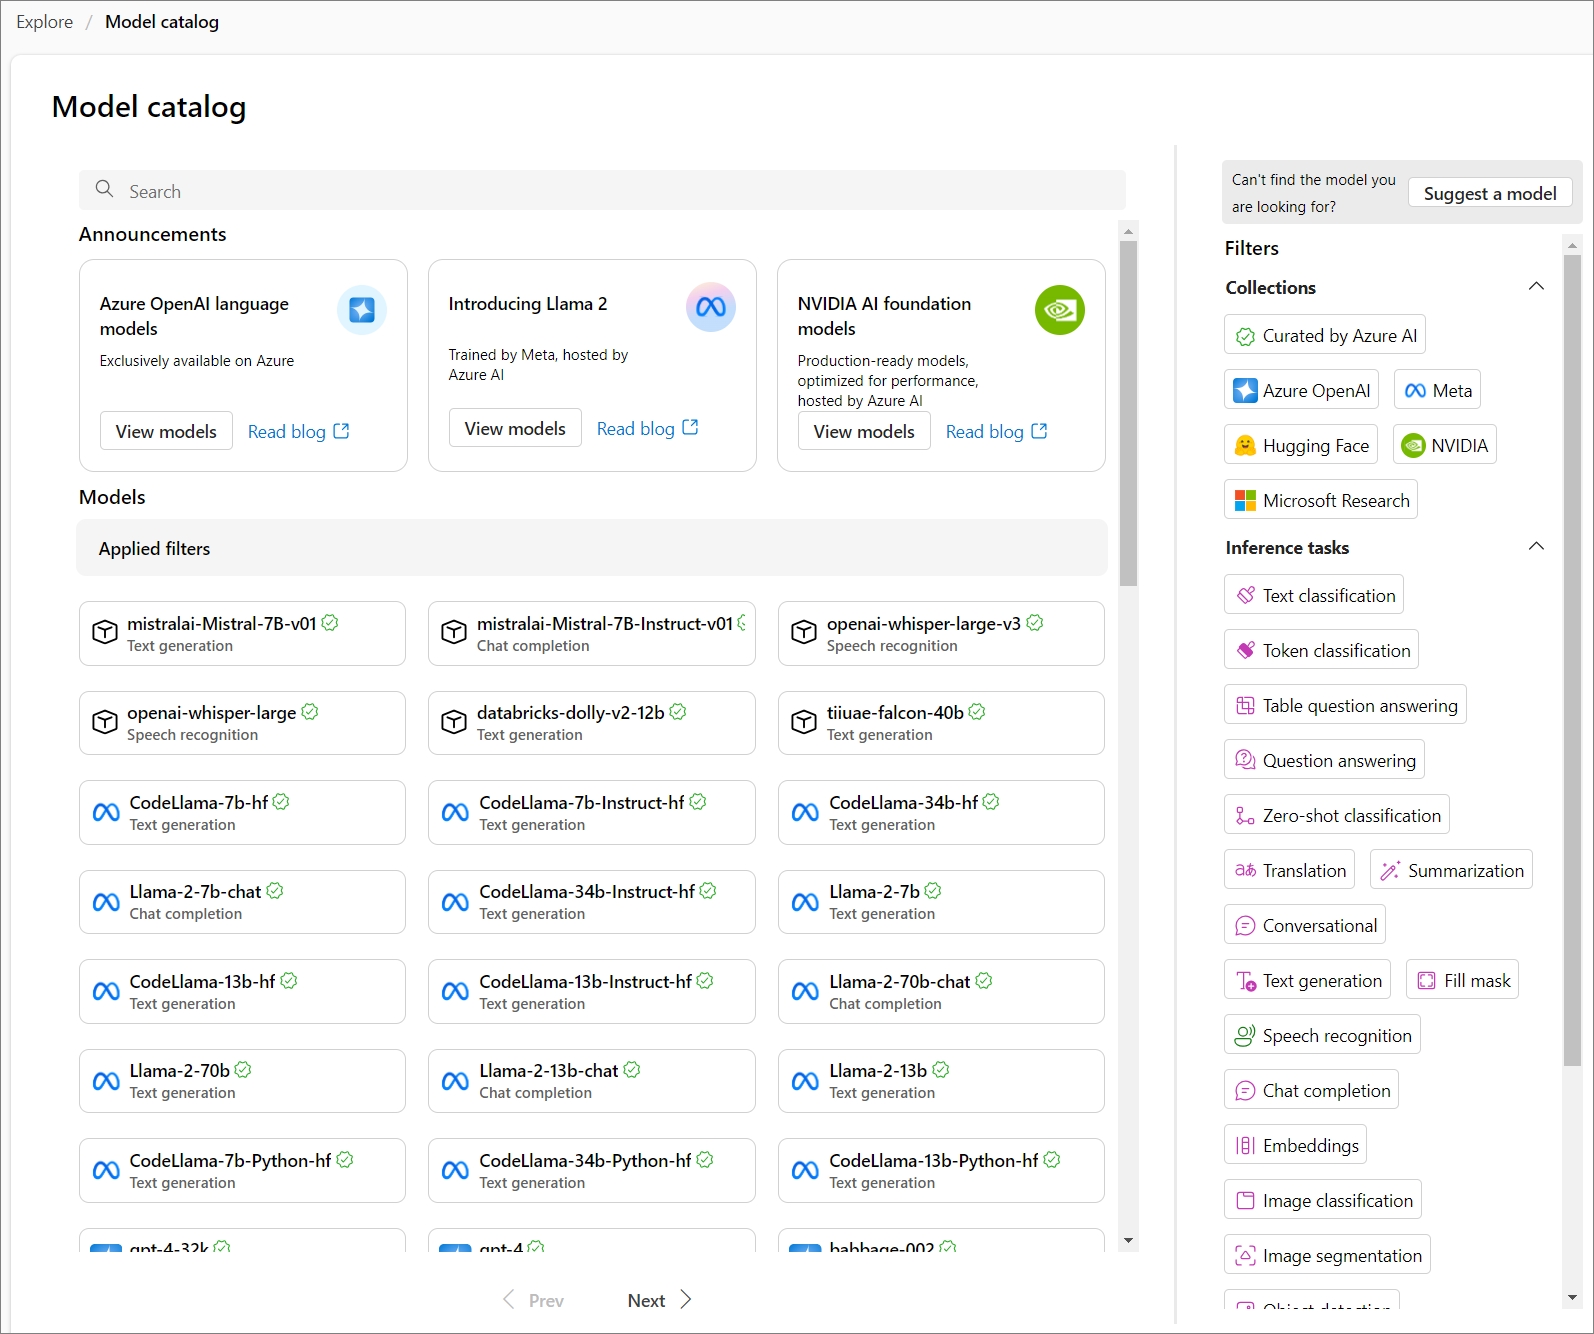
또한, Hugging Face에서 처럼 사용 용처에 따른 Filter를 적용하여 원하는 모델을 빠르게 찾을 수 있습니다.

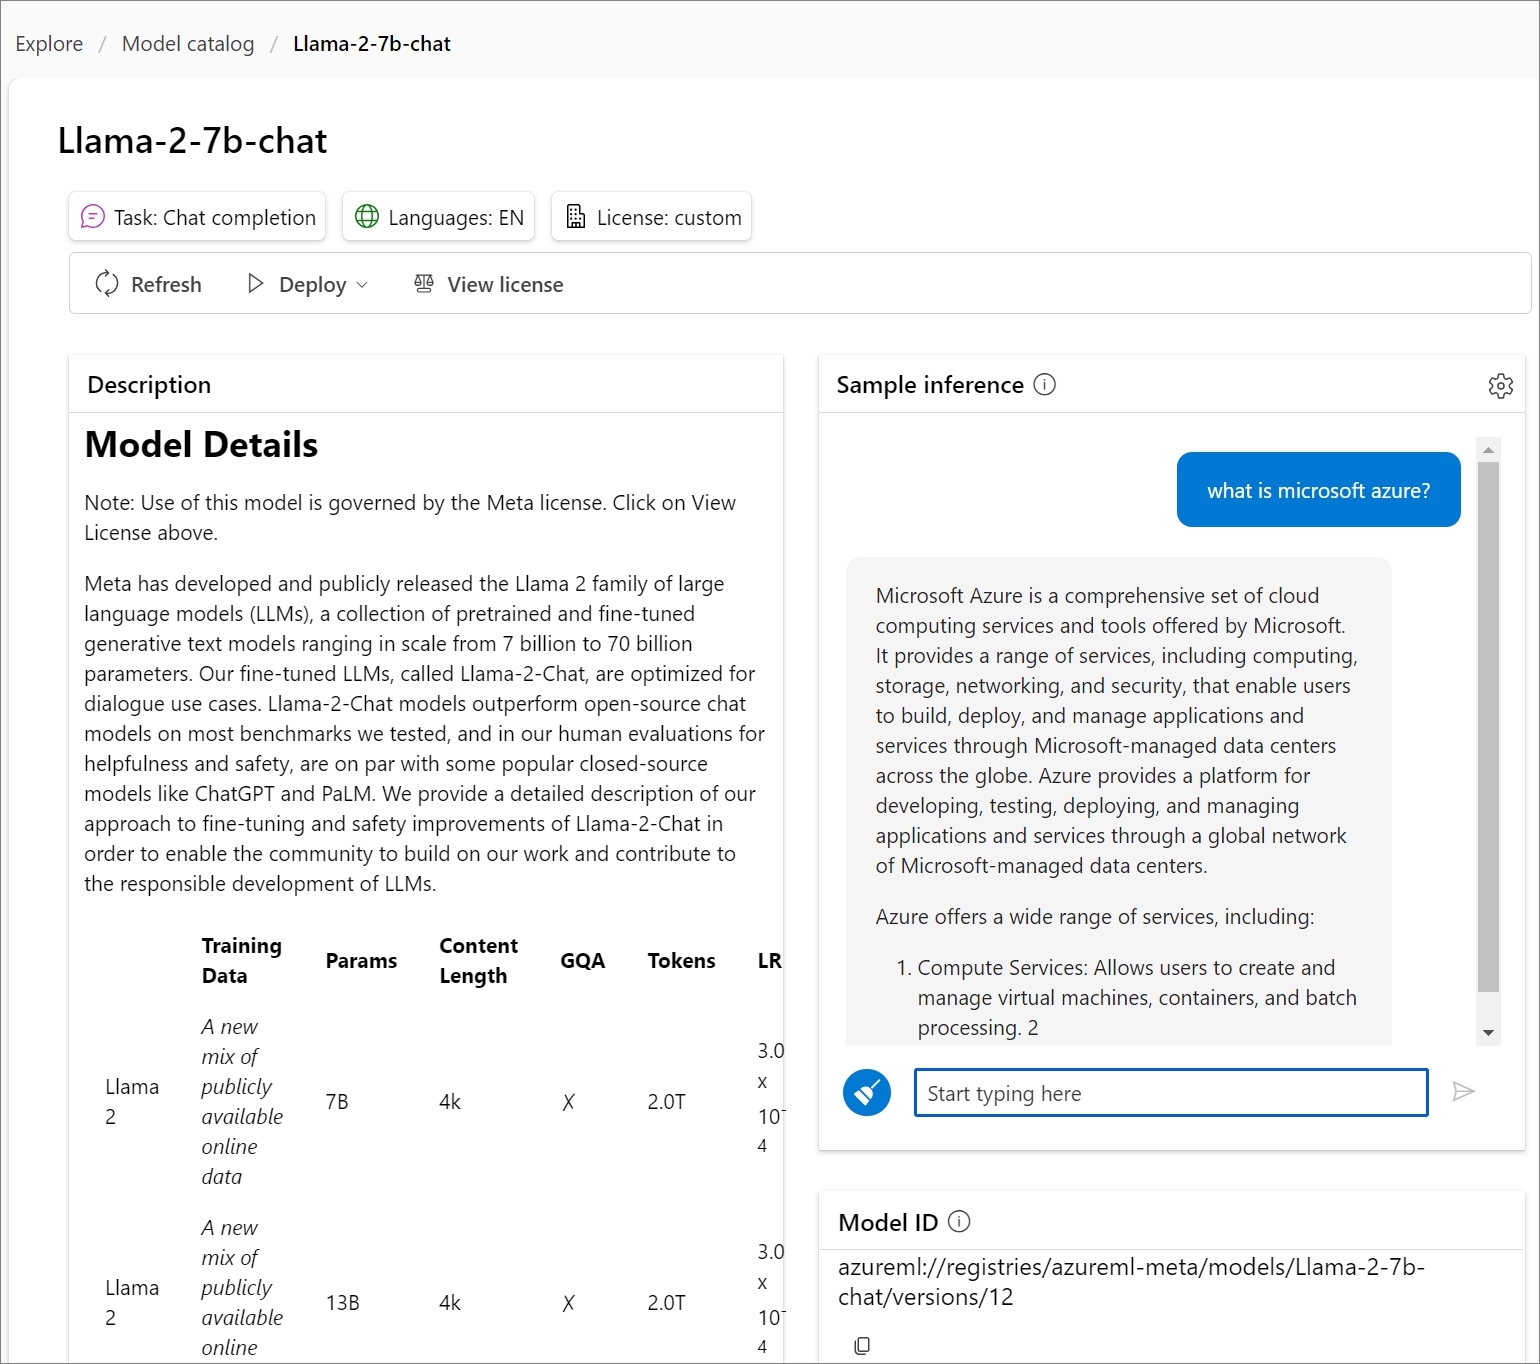
다음과 같이 모델을 하나 선택하면, (여기에서는 Llama-2-7b-chat으로 선택했습니다.)
관련 모델에 대한 설명과 함께(7B로 선택했지만, 설명은 Llama 13B와 70B가 함께 나오네요)
모델에 대한 정보를 확인 할 수 있습니다.
또한, 우측에서는 공유 리소스에서 해당 모델을 올려서 바로 서비스를 확인 할 수 있는 창도 제공됩니다.
'what is microsoft azure?'라고 질문하니, 해당 모델에서 답변을 생성한 것을 확인 할 수 있습니다.
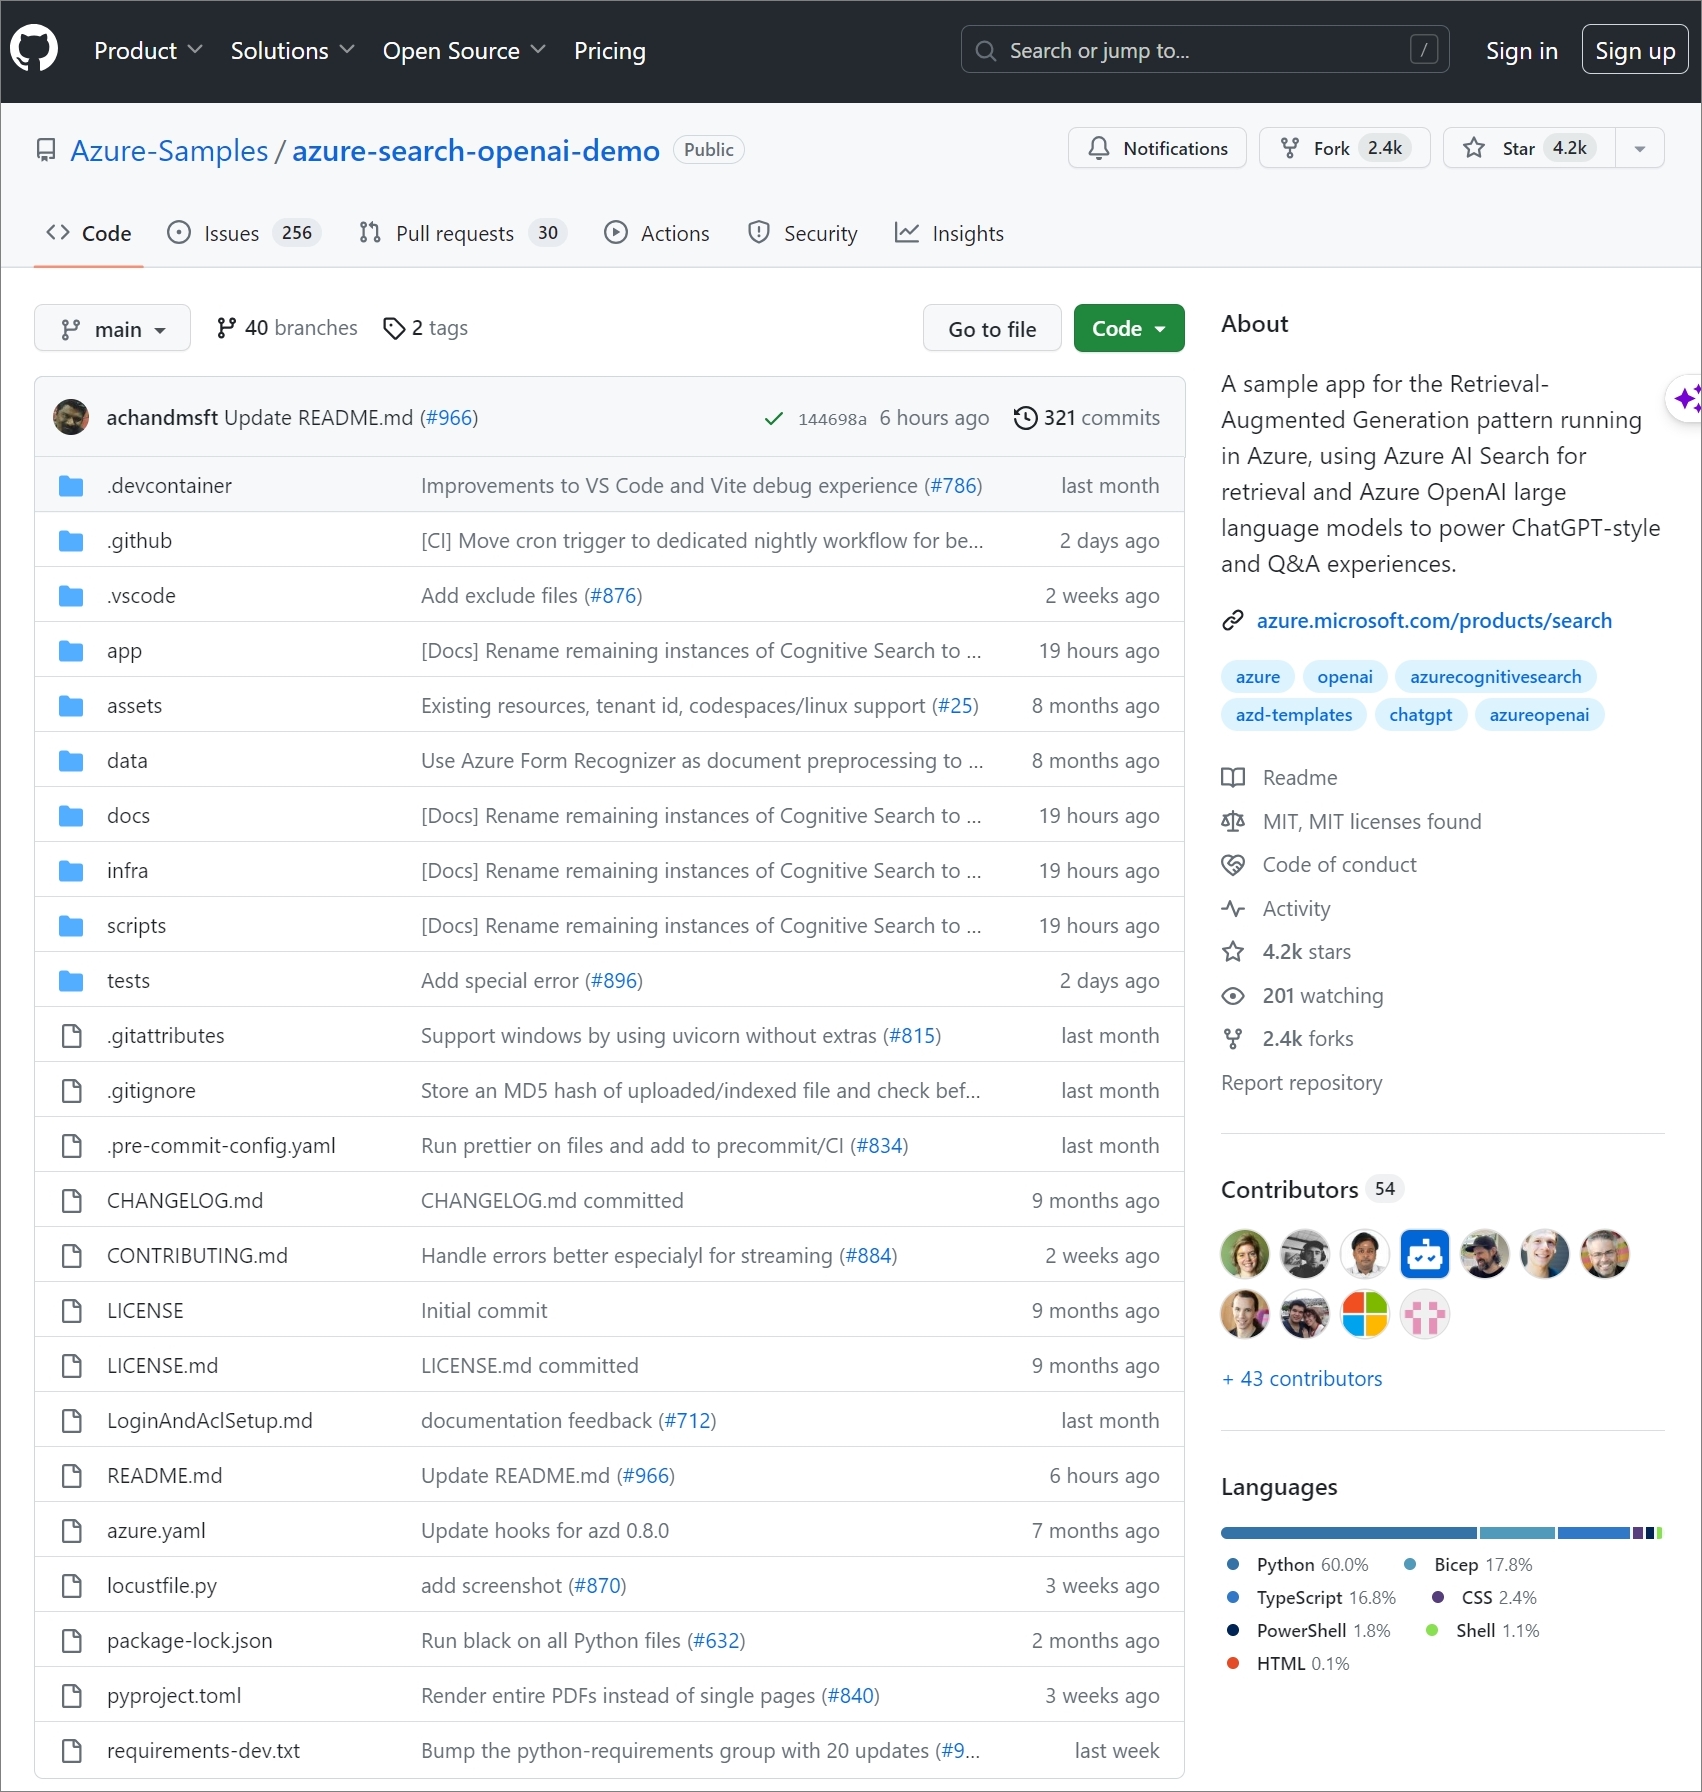
개발을 위해서 필요한 정보도 함께 링크를 아래와 같이 제공하고 있습니다.

예를 들어서, AI Search sample의 'view sample'을 확인해보면,
다음과 같이 Azure-search-openai-demo 라는 github로 연결됩니다.
Capabilities에서는 Azure에서 지원되는 다양한 AI 서비스들과 연결되어 있습니다.
Speech, Vision, Language 영역으로 나뉘어서 다양한 서비스가 연결된 것을 볼 수 있는 데,
예를 들어서, Vision 쪽에는 아래와 같이 Document intelligence, Optical character, Face, Image analysis, Video retrieval 관련 서비스가 있는 것을 볼 수 있습니다.

이 중에서 Document intelligence를 선택하면, 아래와 같이 Azure AI Document Intelligence Studio로 연결되는 것을 볼 수 있습니다. (Azure AI Document Intelligence는 기존 Azure Form Recognizer 입니다)

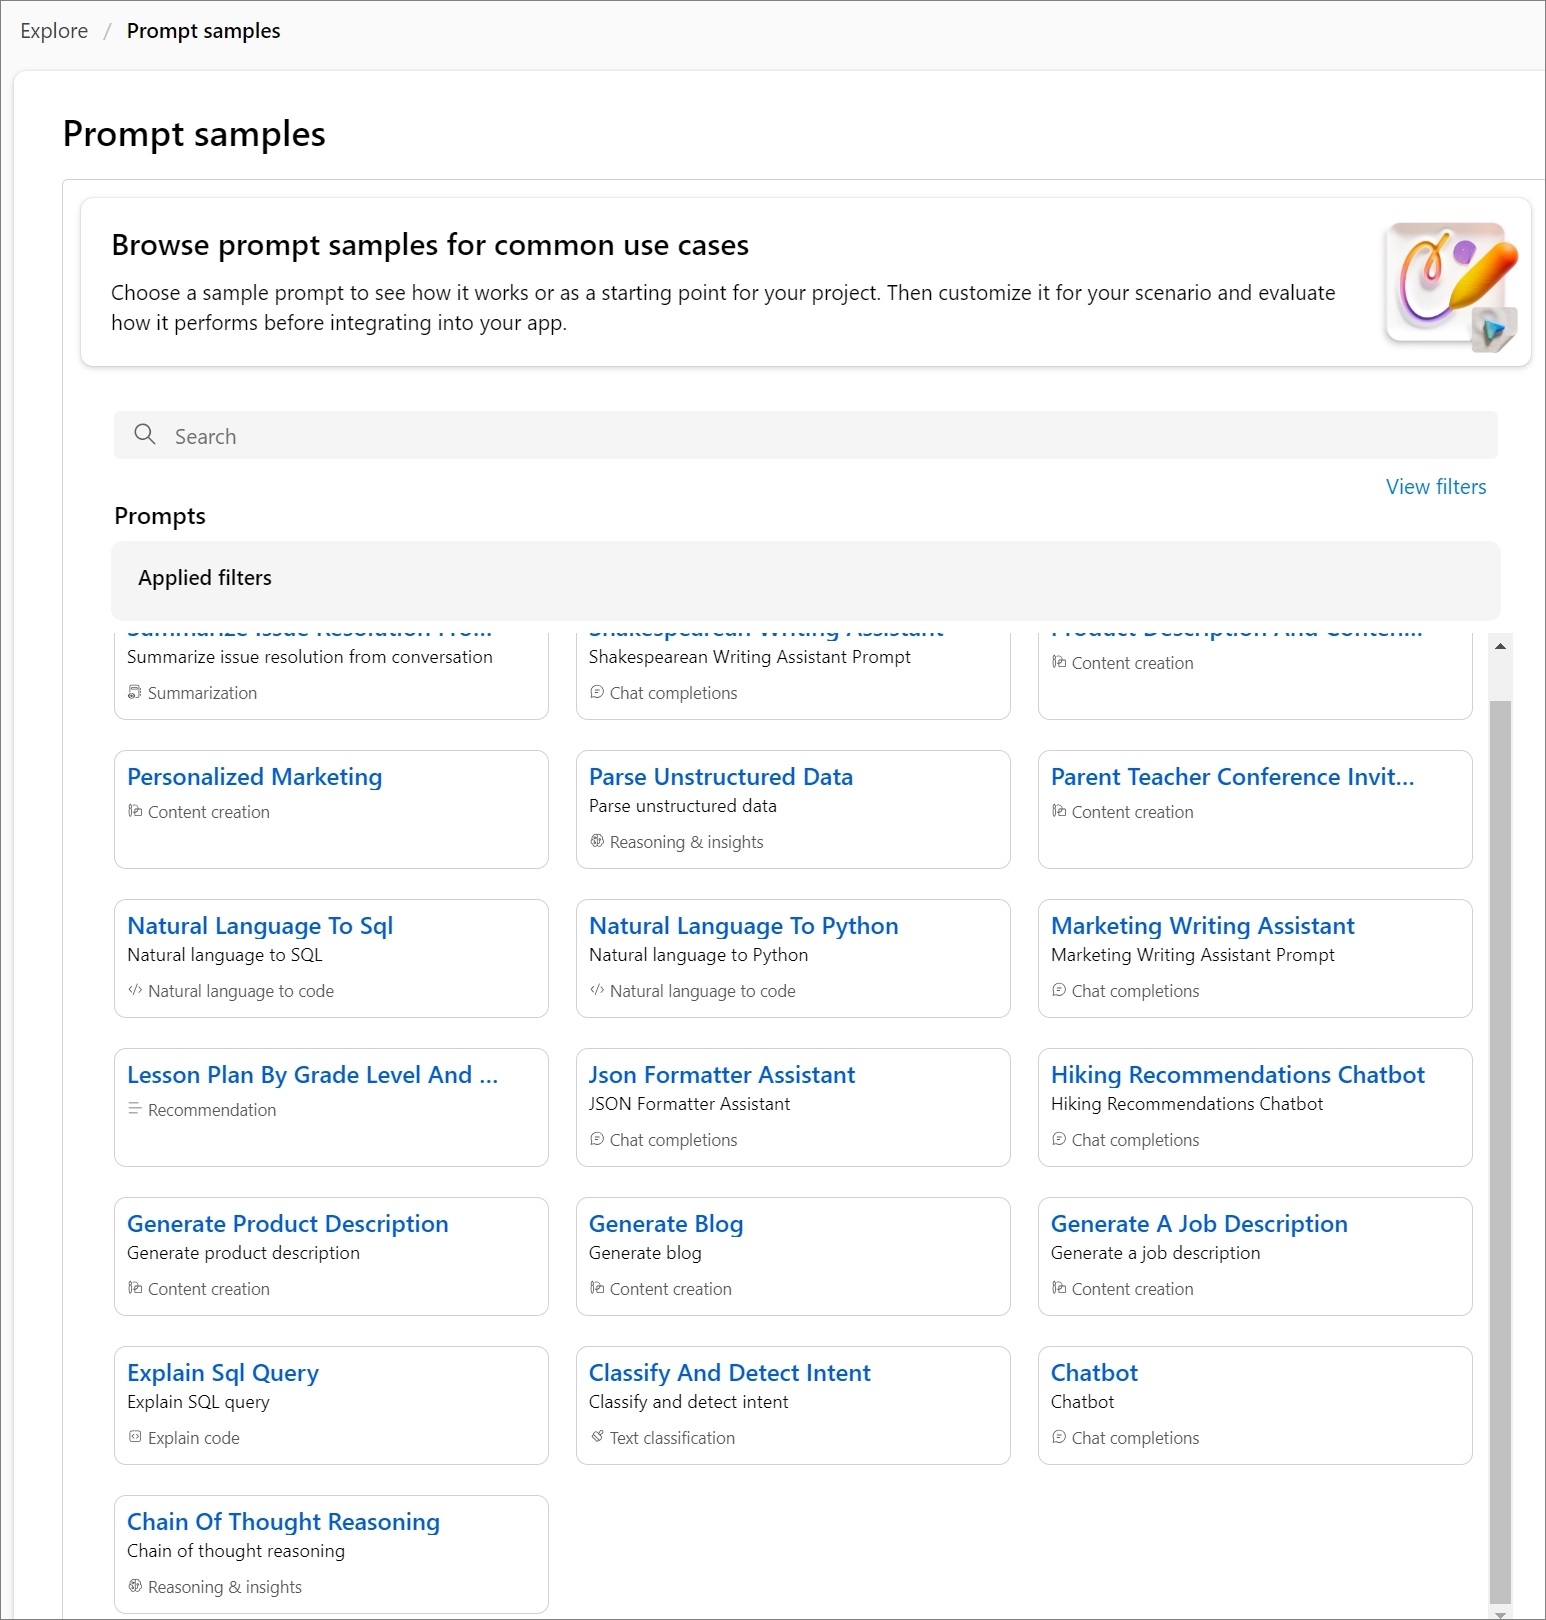
또한, 다양한 프롬프트 샘플도 제공하고 있어서 모델 사용 시에 필요한 프롬프트를 참고해서 작성 할 수 있습니다.